

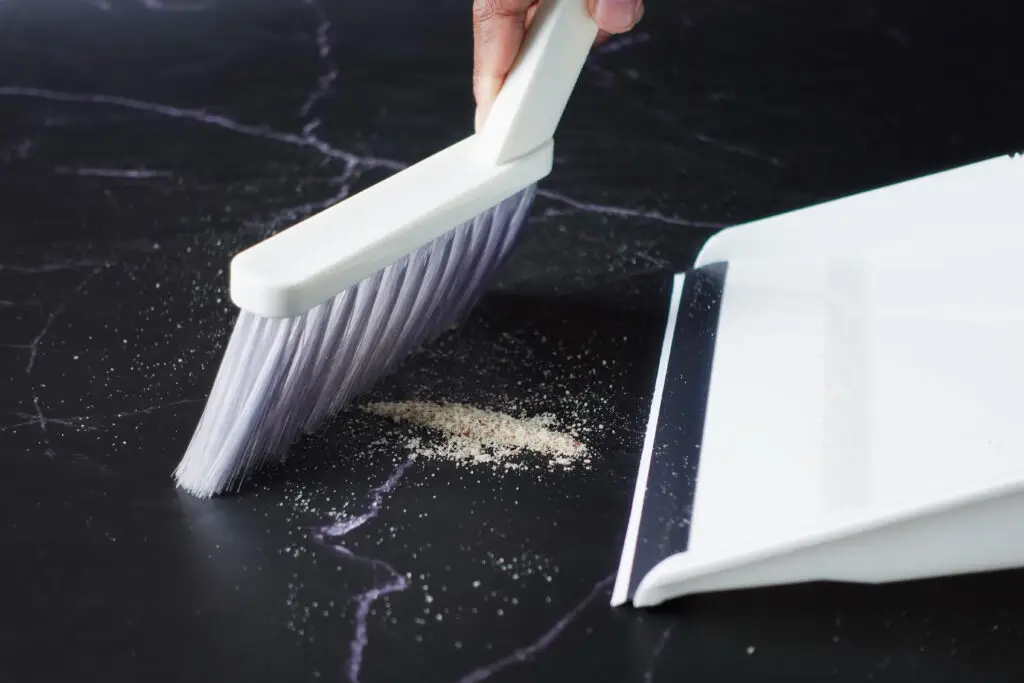
Cleaning construction dust after renovation takes more than a quick sweep. Fine dust from drywall, sanding, cutting, flooring, cabinets, and remodeling work can settle on walls, vents, trim, windowsills, floors, fixtures, and small gaps around the home.
This guide explains how to clean construction dust after renovation safely and in the right order. It is designed for homeowners who want to reduce dust spread, avoid common mistakes, and decide whether a DIY cleanup is enough or if a professional post-construction cleaning service is needed.
Why construction dust is difficult to remove
Construction dust is different from everyday dust. It is often finer, heavier, and more likely to move through the air when swept, wiped too quickly, or pushed by a fan. After renovation work, dust may come from drywall, plaster, sawdust, tile cutting, grout, paint sanding, insulation, flooring materials, and general debris.
Because these particles are so fine, they can move from one room to another through air vents, open doors, shoes, tools, and cleaning equipment. That is why cleaning construction dust after renovation should follow a clear order: high to low, dry to damp, and detailed surfaces before floors.
Common areas that hold renovation dust include:
- Baseboards, trim, and door frames
- Window tracks and windowsills
- Cabinet tops, drawers, and shelves
- Ceiling fans, light fixtures, and vents
- Closet corners, floor edges, and outlet covers
What to do before cleaning construction dust
Before you start cleaning, make sure the renovation work is fully finished. If contractors are still sanding, cutting, painting, or installing materials, the dust will continue to return. Remove large debris first, including cardboard, plastic wrap, wood scraps, tape, screws, dust sheets, and leftover materials.
Then protect yourself. Fine renovation dust can irritate the eyes, nose, throat, and skin. Wear a well-fitted mask, gloves, eye protection, closed shoes, and long sleeves if the dust is heavy. Open windows when possible, but avoid strong fans that blow dust across the house.
Safety note: If the renovation involved older paint, insulation, mold, heavy demolition, or unknown materials, do not treat the cleanup as simple dusting. Some residues may require special handling, protective equipment, or professional evaluation before cleaning begins.
For general information about indoor particles and air quality, review guidance from the U.S. Environmental Protection Agency.
Tools for cleaning construction dust after renovation
The right tools make cleaning construction dust after renovation easier and safer. A standard broom can lift fine particles into the air and make the room feel dusty again a few hours later. Use tools that trap dust instead of spreading it.
- HEPA vacuum or shop vacuum with a fine dust filter
- Microfiber cloths and dry dusting cloths
- Mop with washable pads and buckets of clean water
- Mild cleaning solution for washable surfaces
- Soft brushes and vacuum attachments for edges
- Step ladder, trash bags, and scraper if needed
A HEPA vacuum is especially useful because it captures fine particles more effectively than a standard vacuum. If you use a shop vacuum, confirm that it has the correct filter for fine dust. Without the right filter, the vacuum may blow dust back into the air.
How to clean construction dust after renovation step by step
The best way to clean construction dust after renovation is to move in a logical order. Start high, finish low. Start dry, then use damp cleaning. Work from the least dusty areas toward the dirtiest areas when possible.
Step 1: Remove debris and let dust settle
Remove visible debris before detailed cleaning. Larger pieces can scratch floors or hide dust underneath. Check corners, closets, under cabinets, behind doors, and around appliances. If renovation work just ended, give fine dust time to settle before wiping surfaces.
Step 2: Clean high areas first
Use a vacuum with a soft brush attachment or an extendable duster to clean ceiling corners, crown molding, cabinet tops, light fixtures, ceiling fans, high shelves, door frames, tall furniture, and HVAC vent covers.
Do not use a damp cloth first on heavy construction dust. Damp wiping can turn fine dust into a paste, especially drywall dust. Dry removal first is usually the better approach.
Step 3: Clean walls, trim, and baseboards
Walls often hold more dust than they appear to. Start by dry dusting or vacuuming with a soft attachment. Work from top to bottom using gentle pressure. After dry dust is removed, lightly wipe washable walls with a damp microfiber cloth.
Next, vacuum and wipe trim, baseboards, door frames, window trim, stair railings, built-ins, and cabinet edges. Rinse cloths often so dust does not spread from one area to another. For textured trim or detailed molding, use a soft brush before wiping.
Step 4: Clean windows, cabinets, counters, and fixtures
Windows can hold dust on glass, frames, sills, and tracks. Vacuum tracks first, then wipe frames and sills with a damp microfiber cloth. Clean glass only after nearby surfaces are dust-free.
In kitchens and bathrooms, clean cabinet exteriors, drawer fronts, countertops, backsplashes, appliance surfaces, sinks, faucets, mirrors, vanities, shower doors, towel bars, and vent covers. Use mild products that match the surface, especially on stone, wood, stainless steel, glass, and painted cabinets.
Step 5: Clean vents and replace filters
Air vents and returns are important after renovation. Dust can collect on vent covers and may circulate if the HVAC system was running during the project. Vacuum vent covers with a brush attachment. If covers are removable, wipe them and let them dry before reinstalling.
At minimum, inspect or replace HVAC filters after renovation. If heavy dust entered the system, ask an HVAC professional whether deeper duct cleaning or filter replacement is needed.
Step 6: Vacuum and mop floors last
Once higher surfaces are clean, move to the floors. Vacuum slowly and use the right attachment for each surface. On carpet, use overlapping passes because dust can settle into fibers. On hard floors, use a hard floor attachment to avoid scratches.
After vacuuming, mop hard floors with clean water and change the water often. For heavy dust, two passes may be needed. Avoid excess water on wood or laminate floors. For tile, pay attention to grout lines because dust can settle into them.
Step 7: Repeat touch points and final details
After the first full cleaning, inspect the room again. Fine dust often appears after air movement, especially during the first day after cleaning. Do a final detail pass on light switches, outlet covers, door handles, cabinet pulls, appliance handles, shelves, window sills, and baseboards.
Common mistakes when cleaning construction dust
Cleaning construction dust after renovation can take longer when the wrong methods are used. Some mistakes make dust spread more instead of removing it.
- Sweeping fine dust with a broom
- Mopping before vacuuming
- Wiping heavy drywall dust with a wet cloth first
- Using a vacuum without the right filter
- Cleaning floors before walls and high surfaces
- Forgetting vents, closets, drawers, and cabinet interiors
- Using harsh products on delicate surfaces
- Reusing dirty cloths too many times
The biggest mistake is treating post-renovation dust like regular dust. It needs more patience, better tools, and a clear cleaning order.
How long does renovation dust take to settle?
Renovation dust can continue to settle for hours or even days, depending on the amount of work, ventilation, HVAC use, and how well the area was contained during construction. Drywall sanding, floor refinishing, tile cutting, and demolition usually create more fine dust than small repairs.
If dust appears again after the first cleaning, it does not always mean the cleaning was done poorly. Fine particles may still be in the air, vents, corners, textured surfaces, or carpet fibers. Many homes need one main cleaning pass and one lighter follow-up pass.
When cleaning construction dust becomes a bigger job
Some renovation cleanup tasks are manageable for homeowners. Others require more time, tools, or professional support. The job may be more complex if the renovation affected several rooms, drywall dust is heavy, dust reached vents, the home has high ceilings, or the space must be ready for guests, tenants, buyers, or employees.
A DIY approach can work for light renovation dust. However, professional help is often the better choice when the dust is widespread, the property is large, or the space needs to be ready quickly. A professional post-construction cleaning service can help with detailed dust removal, surface cleaning, fixture cleaning, floor care, and final preparation after construction or remodeling work.
Professional cleaning is especially useful after kitchen remodeling, bathroom renovation, flooring installation, drywall repair, painting projects, basement finishing, room additions, rental property renovation, office build-outs, or move-in preparation after construction.
FAQ
What is the best way to clean construction dust after renovation?
Clean from top to bottom and remove dry dust before wet wiping. Start with ceilings, high fixtures, walls, trim, and cabinets. Then vacuum floors slowly and mop hard surfaces with clean water.
Can I use a regular vacuum for construction dust?
A regular vacuum may not be enough for fine construction dust. It may also release dust back into the air if the filter is not designed for fine particles. A HEPA vacuum or shop vacuum with the right fine dust filter is usually a better option.
Should I mop construction dust right away?
No. Vacuum or dry dust first. If you mop too soon, fine dust can turn into a paste and leave streaks or residue on the floor.
How many times should I clean after renovation?
It depends on the amount of dust. Light projects may need one detailed cleaning. Heavier renovation work may need two or more passes because fine dust can continue settling after the first cleaning.
Is construction dust harmful?
Construction dust can irritate the eyes, nose, throat, and skin. Some dust may come from materials that require extra care. Wear basic protection and avoid spreading dust through the air while cleaning.
Do air vents need to be cleaned after renovation?
Visible vent covers should be vacuumed and wiped. HVAC filters should also be checked or replaced. If heavy dust entered the system, ask an HVAC professional whether deeper duct cleaning is needed.
What is the difference between renovation cleaning and post-construction cleaning?
Renovation cleaning usually refers to cleaning after remodeling or home improvement work. Post-construction cleaning is the broader professional service that prepares a space after construction, renovation, repairs, or build-outs.
Make your renovated space ready to use
Cleaning construction dust after renovation takes time, patience, and the right order. Start with dry dust removal, clean from high to low, pay attention to vents and detailed surfaces, and finish with careful floor cleaning.
If the dust is heavy, the project covered several rooms, or the space needs to be ready quickly, professional help may be the safest and most efficient option. For a detailed cleanup after remodeling, repairs, or construction work, schedule a post-construction cleaning service and prepare the space for comfortable use.