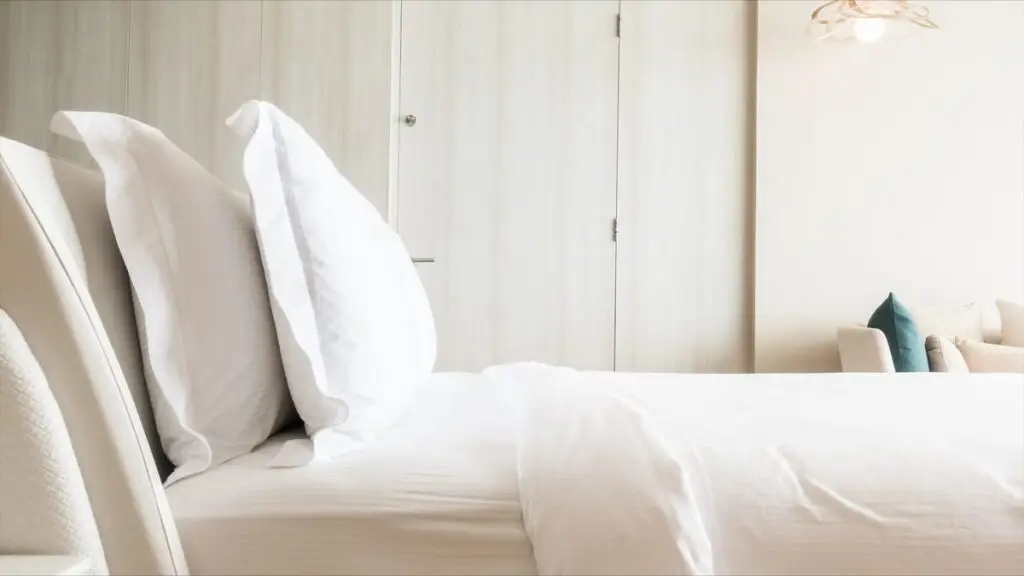
Your mattress absorbs more than you think. Over time, it collects sweat, dead skin cells, dust mites, and allergens — even if it looks clean on the surface. In South Florida, where humidity stays high year-round, these conditions get worse faster than in drier climates.
Using the right mattress cleaner and following a consistent routine makes a real difference in your sleep quality and your family’s health. This guide walks you through exactly what to do, step by step.
Why mattress cleaning matters more in South Florida
High humidity creates the perfect environment for dust mites and mold spores to thrive inside your mattress. Because South Florida homes rarely experience cold, dry winters, these organisms have no natural season to slow them down.
In addition, if you have kids or pets, your mattress is exposed to even more biological material on a regular basis. The result is a surface that can trigger allergies, worsen asthma, and disrupt sleep — even when it looks fine from the outside.
Regular mattress cleaning is not optional here. It is, therefore, a genuine health habit.
What you need before you start
Before applying any mattress cleaner, gather your supplies. Having everything ready prevents you from stopping mid-process.
You will need:
- A vacuum cleaner with an upholstery attachment
- Baking soda (for odor absorption)
- A spray bottle
- Cold water
- Mild dish soap or enzyme-based cleaner
- White cloths or paper towels
- Optional: hydrogen peroxide (for tough stains)
Avoid using harsh bleach or ammonia-based products on your mattress. These can break down the foam layers over time and leave strong chemical residues close to your face while you sleep.
Step 1: Strip the bed completely
Remove all sheets, pillowcases, mattress protectors, and any covers. Wash them right away in hot water to kill dust mites. This is an important first step because remaking the bed with clean linens over a dirty mattress defeats the entire purpose.
While the laundry runs, you can focus on the mattress itself.
Step 2: Vacuum the entire surface
Use the upholstery attachment on your vacuum to go over every inch of the mattress — top, sides, and bottom if possible. Work in slow, overlapping strokes.
Because mattresses accumulate fine particles deep in the fabric, slow vacuuming picks up significantly more debris than a quick pass. Pay extra attention to seams and tufted areas, where dust mites and debris tend to concentrate.
This step alone removes a large portion of the allergens sitting in your mattress right now.
Step 3: Apply baking soda and let it sit
Sprinkle a generous, even layer of baking soda over the entire top surface of the mattress. Baking soda is one of the most effective natural mattress cleaners for odor because it draws moisture and neutralizes acidic compounds from sweat.
Let it sit for at least one hour. However, if you can leave it for four to eight hours — or even overnight — the results will be noticeably better. Open a window in the room to encourage airflow during this time.
Step 4: Treat stains with the right mattress cleaner
Not all stains respond to the same treatment. Therefore, knowing what caused the stain helps you choose the right approach.
For general stains: Mix a small amount of mild dish soap with cold water and apply it to the stain using a clean cloth. Blot (never rub) the area. Rubbing spreads the stain and pushes it deeper into the fabric.
For urine stains: Use an enzyme-based cleaner designed for biological stains. Enzymes break down the proteins in urine, which removes both the stain and the odor at the source. This is especially important if you are cleaning a mattress from pee because surface-level cleaners only mask the smell temporarily.
For blood stains: Use cold water only. Hot water sets protein-based stains permanently. Apply a small amount of hydrogen peroxide on a cloth, blot gently, then follow with cold water to rinse.
Allow treated areas to dry completely before moving to the next step.
Step 5: Vacuum again to remove the baking soda
Once the baking soda has had time to work, vacuum the entire mattress surface again. You will notice the baking soda has absorbed moisture and odors, so this second pass removes all of that residue.
Do not skip this step. Leaving baking soda residue in the mattress can attract more moisture over time, especially in humid climates like South Florida.
Step 6: Let the mattress dry fully before remaking the bed
This step is critical. A mattress that is even slightly damp when you put sheets back on it will develop mildew, which is much harder to remove than the original stain.
Open windows and, if possible, use a ceiling fan or a portable fan to speed up drying. In South Florida’s humidity, drying can take longer than in other regions, so plan ahead. If you are cleaning in the morning, the mattress should be ready to remake by evening.
If you have a moisture meter, a reading below 15% is ideal before remaking the bed.
Step 7: Protect the mattress going forward
Now that your mattress is clean, keeping it that way is straightforward. Use a waterproof mattress protector. This single addition prevents most future stains from penetrating the fabric.
Moreover, rotate your mattress every three to six months. This distributes wear evenly and prevents body impressions from concentrating in one area. In South Florida homes, consider a mattress protector with antimicrobial properties to resist the mold and mildew that humidity encourages.
How often should you clean your mattress?
A full mattress cleaner routine every three to six months is a reasonable target for most households. However, if you have allergies, asthma, young children, or pets, doing it every two to three months is a better practice.
Between deep cleans, a quick monthly vacuum and baking soda treatment is enough to keep odors and allergens under control. Consistent small efforts reduce the need for intensive cleaning sessions later.
When to call a professional
There are situations where DIY mattress cleaning is not enough. Deep-set mold, persistent urine odors after multiple treatments, or visible dark staining that does not respond to enzyme cleaners are all signs that professional attention is warranted.
Professional cleaning uses steam and stronger extraction equipment that can penetrate deeper into the mattress than household methods. As a result, it removes allergens, mites, and biological residue that surface cleaning cannot reach.
If your mattress has been through a major spill, a pet accident, or a long period without cleaning, a professional session is worth the investment.
How to clean a mattress with baking soda: going deeper
Baking soda deserves its own section because it is genuinely one of the best mattress cleaners available for everyday maintenance. It is inexpensive, safe for all mattress types, and effective at neutralizing the acidic compounds that cause that stale, musty odor so common in South Florida bedrooms.
For a more intensive treatment, mix baking soda with a few drops of essential oil — lavender is a popular choice. Spread this mixture evenly across the mattress and leave it for as long as possible. The baking soda absorbs moisture and odors while the essential oil leaves a light, fresh scent.
This method is particularly useful in humid months, when mattresses absorb more ambient moisture from the air. Because humidity in South Florida rarely drops low enough to dry out a mattress naturally, this baking soda treatment once a month is one of the most practical habits you can build.
Mattress odor removal: when basic cleaning is not enough
If your mattress has a persistent odor that does not respond to baking soda alone, the problem is likely deeper in the foam layers. This happens most often with older mattresses or those that have been through liquid spills, extended illness, or pet accidents.
For mattress odor removal at this level, an enzyme-based cleaner applied generously and allowed to dry fully is the next step. Enzymes break down the organic compounds causing the smell at the molecular level, rather than simply masking them.
Apply the enzyme cleaner to the affected area, cover it loosely with a towel to slow evaporation, and allow it to work for several hours. Then, vacuum and apply baking soda as a final neutralizing step. This combination handles most odor situations that basic cleaning does not resolve.
However, if the odor persists after two or three attempts, or if you notice visible dark spots on the mattress interior when you press down on it, professional extraction cleaning is the appropriate next step.
What to do after cleaning: protecting your investment
A mattress is a significant investment, and protecting it after cleaning extends both its cleanliness and its lifespan. The most important step is adding a waterproof mattress protector — one that is both waterproof and breathable, so it does not trap heat.
In South Florida, choose a protector with antimicrobial treatment. These are widely available and provide an additional layer of resistance against the mold and dust mite activity that the climate encourages.
Rotate your mattress every three months to prevent uneven wear, and air it out occasionally by stripping the bed and opening the windows for a few hours. This practice is especially helpful in drier months when the air can absorb moisture more effectively.
What about mattress cleaning services?
If the process feels overwhelming, or if time is the real issue, a professional service handles everything for you. The deep cleaning services include mattress care as part of a thorough whole-home clean, so your bedroom gets the same attention as every other room.
And if your entire home needs a fresh start, our team is ready to help. Contact us for a free quote and we will take care of the hard work.
A clean mattress is a healthier home
Mattress cleaning is one of those tasks that is easy to overlook because the problem is invisible. However, the dust mites, allergens, and moisture sitting inside your mattress affect how well you breathe, how deeply you sleep, and how healthy your home feels overall.
With the right mattress cleaner and a consistent routine, you protect your family and extend the life of your investment. Start with these seven steps today — and make it a habit going forward.