

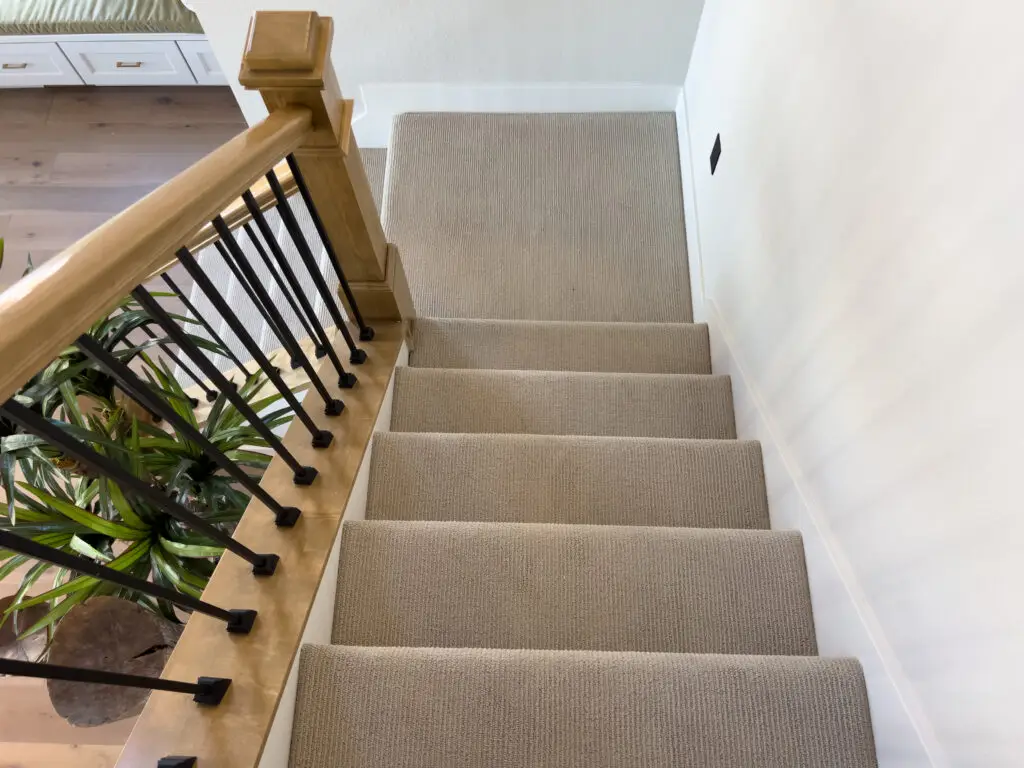
Stair carpets add warmth, reduce noise, and provide a safer, non-slip surface, but they also endure some of the heaviest foot traffic in any home. Unlike flat carpets, stair runners are constantly subjected to concentrated pressure and friction, making them notorious for accumulating dirt, grime, and stubborn stains. Keeping them clean is not just about aesthetics; it’s also about maintaining a hygienic and inviting home environment. While machine cleaning can be cumbersome on stairs, hand cleaning offers a meticulous and effective way to refresh your stair carpet, removing embedded dirt and tackling those unsightly spots without the need for bulky equipment. This guide will walk you through a simple, step-by-step process to hand clean your stair carpet, ensuring it looks its best.
Why stair carpets collect more dirt and stains
Stair carpets are unique in how they interact with daily life, which makes them particularly prone to dirt and stains. Understanding these factors can help you appreciate the need for regular, targeted cleaning.
- High Traffic Concentration: Stairs are narrow, forcing foot traffic into a smaller, concentrated area. This means the same few inches of carpet get repeatedly stepped on, ground into, and scuffed, leading to faster wear and dirt accumulation compared to open floor areas.
- Edge and Riser Exposure: The edges and risers (the vertical part of the stair) are often rubbed against by shoes, pets, and even vacuum cleaners, leading to visible wear, scuffs, and dirt lines that are unique to stair carpets.
- Gravity’s Role: Gravity naturally pulls dust, crumbs, and debris downwards, meaning anything dropped or tracked onto upper stairs will eventually make its way to the lower steps, compounding the dirt problem.
- Pet Activity: Pets often use stairs to get around, bringing in dander, fur, and outdoor dirt, which can become trapped in the carpet fibers. Pet accidents are also common on stairs, leading to tough odors and stains.
- Difficulty in Cleaning: The awkward angles and smaller surface area of individual steps make thorough vacuuming and deep cleaning more challenging than on flat surfaces, allowing dirt to build up over time.
- Footwear Transfer: Shoes, slippers, and socks directly transfer dirt, oils, and grime from other parts of the house (or outdoors) directly onto the stair carpet with every step, embedding it deeply into the fibers.
Tools and supplies you’ll need
Before you begin your deep clean, gather all the necessary tools and supplies. Having everything within reach will make the process more efficient and less tiring.
- Vacuum Cleaner with Hose and Attachments: Essential for initial dirt removal. A crevice tool and upholstery brush attachment are particularly useful for stairs.
- Stiff-Bristled Brush (Handheld): For scrubbing stains and loosening embedded dirt. Ensure it’s suitable for carpet and won’t damage the fibers.
- Several Clean Microfiber Cloths or Terry Towels: For blotting, applying solutions, and rinsing. Have plenty on hand, as you’ll want fresh ones for different stages.
- Small Bucket(s): One for your cleaning solution, and another for clean rinse water.
- Spray Bottle: For applying spot cleaning solutions or rinse water sparingly.
- Carpet Cleaning Solution:
- Commercial Carpet Cleaner: Choose one specifically for spot treatment and hand scrubbing, ensuring it’s safe for your carpet type (test in an inconspicuous area).
- DIY Solution (Mild Option): Mix 1 teaspoon of clear, mild dish soap (e.g., Dawn) with 1 cup of warm water, or use a mixture of equal parts white vinegar and warm water for general deodorizing and light cleaning.
- Clean, Warm Water: For rinsing. Distilled water is recommended to avoid mineral deposits if your tap water is hard.
- Baking Soda (Optional): For deodorizing after cleaning.
- Rubber Gloves: To protect your hands from cleaning solutions.
- Knee Pads (Highly Recommended!): Cleaning stairs involves a lot of kneeling, and knee pads will save you a lot of discomfort.
Step 1 – Vacuum stairs thoroughly
The first and most important step is to remove as much dry dirt, dust, and debris as possible. This prevents you from turning dry grime into muddy streaks when you introduce liquids.
- Clear the Stairs: Remove any objects from the stairs, such as shoes, toys, or decorations.
- Use Attachments: Attach the hose to your vacuum cleaner. Start at the top step and work your way down.
- Vacuum Edges and Corners: Use the crevice tool to thoroughly clean along the edges where the carpet meets the wall or banister, and deep into the corners of each step. These areas collect a surprising amount of dust and pet hair.
- Vacuum Tread and Riser: Switch to the upholstery brush attachment (or just the open hose if it has good suction). Vacuum the flat part of each step (the tread) and the vertical part (the riser). Press firmly to dislodge embedded dirt.
- Repeat if Necessary: For heavily soiled stairs, go over each step multiple times. If you have pets, you might need to use a lint roller or a rubber brush to pull up stubborn pet hair before vacuuming again.
Step 2 – Spot clean stains with safe solutions
Once the dry dirt is gone, it’s time to tackle any visible stains. Different stains require different approaches, but the core principle is always to blot, not rub.
- Identify Stain Type (if possible):
- General Dirt/Food Stains: Mild dish soap solution or commercial carpet cleaner.
- Grease/Oil Stains: Rubbing alcohol (test first!) or a specific grease-cutting carpet stain remover.
- Pet Stains/Odors: Enzyme-based pet stain and odor remover.
- Test Solution: Always test your chosen cleaning solution on a small, inconspicuous area of the carpet (e.g., underneath the bottom step or in a hidden corner) to ensure it doesn’t cause discoloration or damage. Wait a few minutes for it to dry.
- Apply Solution to Cloth: Lightly dampen a clean microfiber cloth with your chosen spot cleaning solution. Do NOT spray the solution directly onto the carpet, as this can lead to over-saturation and potential water rings.
- Blot the Stain: Gently blot the stain with the damp cloth, working from the outside of the stain towards the center. This prevents the stain from spreading. Do not rub, as rubbing can push the stain deeper into the fibers and damage the carpet.
- Use Fresh Cloth Sections: As the cloth picks up the stain, move to a clean section of the cloth. You may need to repeat blotting with fresh solution and fresh cloth sections several times for stubborn stains.
- Rinse (if applicable): If you used a soapy solution, dampen a fresh, clean cloth with plain warm water and blot the area to rinse away any soap residue. Soap residue can attract dirt and cause resoiling.
- Dry: Blot the area thoroughly with a dry microfiber cloth to absorb as much moisture as possible.
Step 3 – Scrub and rinse carpet by hand
After spot cleaning, it’s time for the deeper clean of the entire carpeted area, step by step.
- Prepare Cleaning Solution: In your first bucket, mix your chosen carpet cleaning solution (commercial cleaner according to package directions, or your DIY dish soap/vinegar solution with warm water).
- Prepare Rinse Water: Fill your second bucket with clean, warm water (preferably distilled). Have a few extra clean microfiber cloths ready for rinsing.
- Work in Sections: Start at the top of the stairs and work your way down, cleaning one step at a time.
- Apply Solution: Dip your stiff-bristled brush into the cleaning solution, or lightly dampen a clean microfiber cloth with the solution. Do not drench the brush or cloth.
- Scrub Gently:
- For the Tread: Gently scrub the flat part of the step with the brush or wipe with the damp cloth. Work with the nap of the carpet, using small, even strokes. Focus on areas of concentrated dirt.
- For the Riser: Scrub or wipe the vertical part of the step, paying attention to any scuff marks.
- For the Nosing (Edge): Don’t forget the rounded edge of the step where the most wear occurs.
- Blot Dirty Solution: Immediately after scrubbing a section, use a clean, dry microfiber cloth or terry towel to blot up the dirty cleaning solution. Press down firmly to absorb as much moisture as possible. This step is crucial for lifting dirt out of the carpet.
- Rinse Thoroughly: Dampen a fresh, clean microfiber cloth with your clean rinse water. Blot the scrubbed area thoroughly to remove all cleaning solution residue. Again, press firmly and use fresh sections of the cloth as it becomes dirty. Repeat rinsing if necessary until no more suds or dirt transfer to the cloth.
- Final Dry Blot: Use a final dry microfiber cloth to blot the rinsed area one last time, absorbing as much moisture as you can. The goal is to leave the carpet as dry as possible to prevent mildew and speed drying.
- Move to the Next Step: Continue this scrub, blot, rinse, and dry process for each step, working your way down the staircase.
- Air Dry Completely: Once all steps are cleaned, allow the carpet to air dry completely. This may take several hours. You can point a fan towards the stairs to speed up drying, but avoid walking on the carpet until it is fully dry to prevent resoiling or flattening the pile.
- Deodorize (Optional): Once the carpet is completely dry, you can lightly sprinkle baking soda over the entire stair carpet, let it sit for 15-30 minutes, and then vacuum it up for an extra fresh scent.
Tips to maintain stair carpets between deep cleans
Consistent maintenance can significantly reduce the frequency of deep cleaning and keep your stair carpet looking great day-to-day.
- Regular Vacuuming is Key: Make vacuuming your stairs a priority at least once a week, or more often if you have pets or a busy household. Use the appropriate attachments to reach all areas.
- Immediate Spill Cleanup: Treat spills and accidents the moment they happen. Blot, don’t rub, to absorb as much liquid as possible before it sets into a stain.
- Implement a “No Shoes” Policy: If possible, encourage family members and guests to remove their shoes before walking on carpeted stairs. This dramatically reduces the amount of outdoor dirt and debris tracked onto the carpet.
- Use Walk-Off Mats: Place absorbent mats at all entryways to trap dirt before it reaches your stairs and other carpeted areas.
- Trim Loose Threads: If you notice any loose threads, carefully trim them with sharp scissors. Never pull them, as this can unravel the carpet.
- Rotate Traffic Patterns (if applicable): If you have a wider staircase, try to encourage walking on different sides occasionally to distribute wear more evenly, although this can be difficult to enforce.
- Professional Cleaning (Every 1-2 Years): Even with diligent hand cleaning, consider having your stair carpets professionally cleaned every one to two years. Professionals have powerful equipment that can extract deeply embedded dirt and revitalize the carpet fibers.
With these hand-cleaning techniques and maintenance tips, your stair carpet can remain a beautiful, clean, and welcoming feature of your home for years to come.
Ready for a truly spotless home, from top to bottom? Contact Maid Cleaning For You today for a free estimate on our comprehensive cleaning services, and let us handle the deep cleaning so you can enjoy your immaculate living space!