

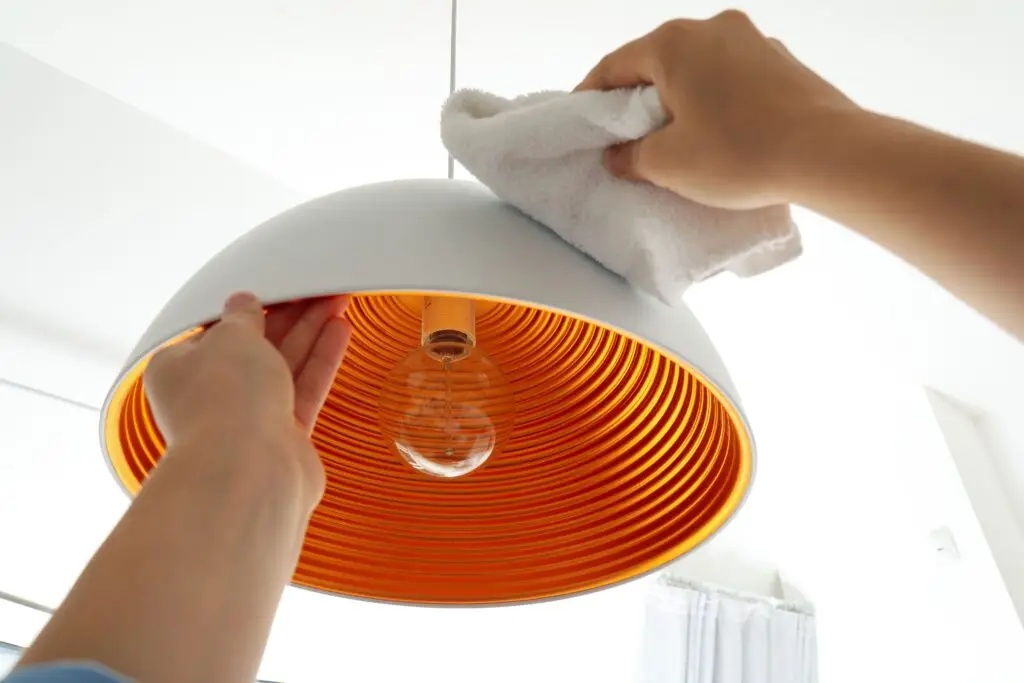
Kitchen light fixtures are hardworking elements of your home, but they are also magnets for the “kitchen trifecta”: dust, cooking grease, and steam. Over time, these particles combine to form a sticky film that not only dims your lights but also makes the fixtures look dingy. Because light fixtures involve electricity, delicate glass, and often hard-to-reach heights, cleaning them requires a blend of caution and technique.
Turn Off Power and Let Fixtures Cool
Safety is the absolute priority when dealing with light fixtures. Before you even grab a cloth, turn off the light switch. If you are cleaning a fixture with bulbs, wait at least 15 minutes to ensure they are completely cool to the touch. Hot bulbs can shatter if they come into contact with a damp cloth, and they can cause painful burns.
Safety Checklist:
- Stability First: Use a sturdy, flat-surface step stool or ladder. Never try to balance on a chair.
- Dry Hands: Always ensure your hands are dry.
- Avoid Direct Spray: Never spray cleaning solutions directly onto the fixture. Spray the cloth instead to prevent liquid from dripping into electrical sockets.
- Know Your Limits: If a fixture is exceptionally high, heavy, or has intricate, fragile parts, it is safer to call a professional electrician or cleaning specialist.
Remove Dust Before Wet Cleaning
One common mistake is jumping straight to a damp cloth. Because kitchen dust is often mixed with fine grease particles, wiping it with a wet cloth immediately can create a muddy, streaky smear.
- Dry First: Start with a clean microfiber cloth or a soft, extended-reach duster. Gently wipe the bulbs, the exterior of the shades, the base, and the chain or cord.
- Clear the Surroundings: Don’t forget to dust the ceiling area immediately around the fixture; dust here often falls back onto the fixture once it’s clean.
- Be Gentle: Decorative finishes and glass are prone to scratching. Use light, steady motions rather than aggressive scrubbing.
Clean Greasy Kitchen Fixtures
Grease buildup is inevitable, especially in fixtures located near the stove or range hood. If you notice a tacky, yellow-tinted residue, dry dusting won’t be enough.
- The Soapy Solution: For removable glass or metal shades, the most effective method is a soak in warm, soapy water. Use a few drops of mild dish soap—a natural degreaser—in a basin.
- Soak and Wipe: Let the pieces soak for a few minutes to loosen the grease, wash them gently, and then rinse with clean water.
- Total Dry Time: This is the most important step. Allow the glass or metal components to air-dry completely until they are 100% moisture-free before reattaching them. Any lingering moisture near electrical components is a hazard.
Clean Different Fixture Materials
The material of your fixture dictates the cleaning method. Treating them as “one-size-fits-all” can lead to damage.
- Glass: Typically the most forgiving. Mild soap and warm water are standard. Use a lint-free glass cloth for a streak-free shine.
- Metal: Wiping with a slightly damp, soapy cloth is usually sufficient. Avoid abrasive pads or harsh chemical degreasers, which can strip protective lacquers or specialty finishes (like brushed nickel or antique brass).
- Fabric Shades: These should generally be dry-cleaned. Use a lint roller to remove dust, or a vacuum with a soft brush attachment. Avoid water or liquid cleaners, as they can cause water spots or shrink the fabric.
- Recessed/Pendant Lights: Treat the housing as you would metal and the bulbs as you would glass.
Prevent Future Buildup
The goal is to maintain the fixture so that deep cleaning is a rare event.
- Ventilation is Key: Always run your range hood or exhaust fan while cooking. This captures airborne grease particles before they have a chance to settle on your light fixtures.
- Consistent Dusting: A quick weekly pass with an extendable duster keeps dust from combining with grease, which is what makes grime so stubborn.
- Frequency: In a busy kitchen, plan for a “light dust” weekly and a more detailed inspection monthly. If your lights look dim or you can see a hazy film on the glass, it’s time for a cleaning.
When to Include Fixtures in Professional Cleaning
Cleaning light fixtures can be cumbersome and, for many, physically challenging due to the need for ladders. At Maid Cleaning For You, we incorporate fixture dusting into our standard cleaning routines to ensure those hard-to-reach places stay free of dust.
If you are looking for a more thorough, detailed cleaning—such as removing shades for a deep soak—feel free to ask us during your consultation. We can help you determine which fixtures are safe for us to detail, ensuring your kitchen remains bright, clean, and welcoming without you ever having to climb a ladder.
Ready to brighten up your kitchen space? Contact Maid Cleaning For You today to discuss your customized cleaning plan and get a quote!
FAQ
How often should kitchen light fixtures be cleaned?
A quick dust once a week is ideal for high-traffic kitchens. A deeper cleaning—where glass shades are removed and washed—should be done every 3 to 6 months, depending on how close the fixture is to your stovetop.
Can I spray cleaner directly on a light fixture?
No. Never spray cleaners directly onto the fixture, as the liquid can seep into the electrical socket, the bulb base, or the wiring, which can cause a short circuit or shock hazard. Always spray your cloth first.
What removes grease from kitchen lights?
Mild dish soap and warm water are the safest and most effective degreasers for light fixtures. The surfactants in dish soap are specifically designed to lift and break down kitchen grease without being too harsh on the fixture’s finish.
Should I remove glass shades before cleaning?
Yes, if they are designed to be removed. Removing the shades allows you to clean both the inside and outside of the glass effectively and safely away from the electrical components. Always ensure you have a secure place to set the glass down while you clean it.