

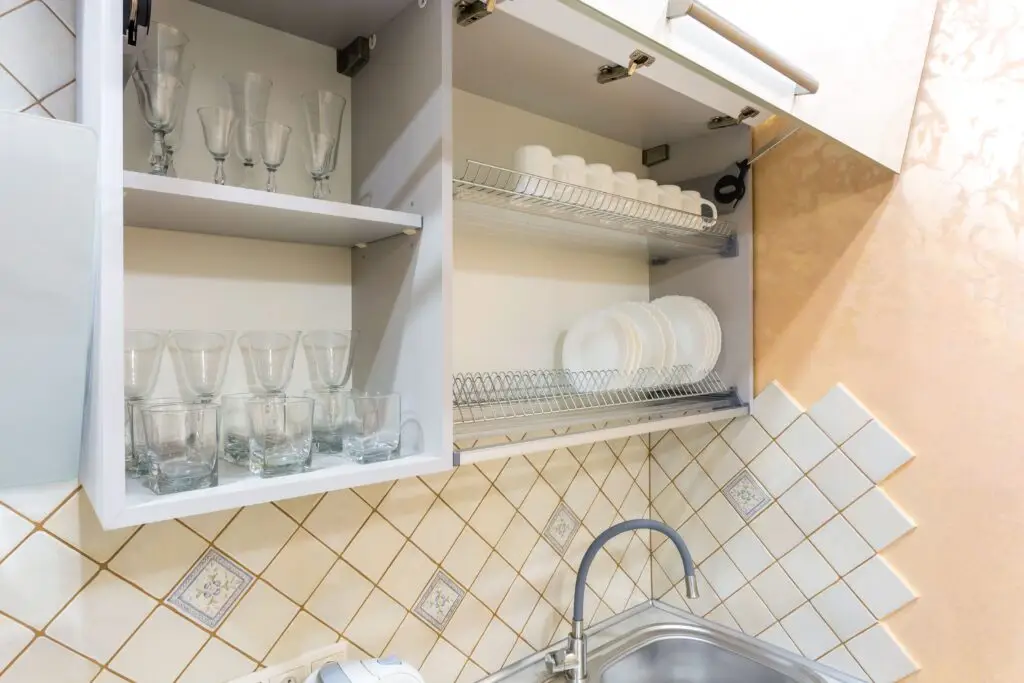
Your kitchen cabinets are the backbone of your culinary space, but they are also magnets for grease, microscopic crumbs, and inevitable spills. Over time, these remnants can build up in corners, attract pests, and make your kitchen feel “tired.” Beyond the mess, cabinets often become catch-alls for expired pantry goods and mismatched containers.
Cleaning and organizing your cabinets is a transformative project. It doesn’t just make your kitchen look better—it makes the daily act of cooking faster and more enjoyable. This guide will walk you through the process of refreshing your cabinets from the inside out.
Empty Cabinets Before Cleaning
The most common mistake people make is trying to wipe around jars and plates. To get a true clean, you must start with a blank slate.
- The Full Reset: Remove everything from your cabinets. This allows you to reach into the back corners and identify damaged liners or crumbs hiding underneath.
- Declutter as You Go: As you pull items out, group them by category (e.g., baking supplies, spices, daily dinnerware). Use this time to check expiration dates on food and toss any containers that are cracked or missing lids. If you haven’t used a specific appliance in two years, it might be time to donate it.
Choose the Right Cleaner for Cabinet Material
Different cabinet finishes require different care. Using an overly harsh chemical can strip paint, dull wood varnish, or cause laminate to peel.
- The Universal Solution: For most cabinets, a mixture of warm water and a tiny drop of mild dish soap is the safest and most effective cleaner.
- The Technique: Dampen a microfiber cloth, wring it out until it is barely moist, and wipe the surface. Follow immediately with a dry cloth to ensure no moisture lingers.
- Test First: Always test your cleaning solution on a small, hidden spot—like the inside bottom edge of a cabinet door—before applying it to the entire surface. This ensures the finish won’t discolor.
Clean Interior Shelves and Corners
Shelves are hot spots for spills, particularly in pantry and spice cabinets.
- Remove the Debris: Start by vacuuming or sweeping out loose crumbs before introducing any liquid.
- Tackle the Stickiness: If you find sticky spills, let a damp, soapy cloth sit on the spot for a minute to soften the residue before wiping.
- Moisture Warning: Never soak wood or particleboard shelves. If water seeps into the seams, the material can swell and warp. Once cleaned, always wipe the shelves completely dry before returning your items.
Clean Cabinet Doors, Handles, and Knobs
Cabinet fronts, handles, and knobs are high-touch zones that accumulate oils from our hands and splatters from the stove.
- Detail Work: Use a soft-bristled brush or an old, clean toothbrush to get into the crevices around decorative trim or the base of knobs.
- Avoid Abrasives: Never use steel wool or scouring pads, as they will create permanent scratches on the finish. A soft microfiber cloth is your best friend here.
- Hardware Check: If your hardware is greasy, remove the knobs and soak them in a bowl of warm, soapy water before scrubbing and drying them thoroughly.
Organize Cabinets for Easier Maintenance
Once your cabinets are clean, don’t just shove everything back in. Use organization as a maintenance strategy.
- Create Zones: Keep items where you use them. Coffee mugs near the coffee maker, spices near the stove, and cleaning products near the sink.
- Use Organizers: Invest in shelf risers to double your storage space, turntables (Lazy Susans) for oils and vinegars, and clear bins to keep snacks grouped together.
- Weight Matters: Always store heavy items (like cast-iron pans or large appliances) on lower, sturdier shelves to keep your kitchen safe and accessible.
- Safety Note: Always store hazardous cleaning supplies and sharp tools in high cabinets or areas secured with child-safe locks.
When to Include Cabinets in Deep Cleaning
While you can manage the daily upkeep, interior cabinet cleaning is often the task that gets pushed to the bottom of the to-do list. Professional deep cleaning covers the areas homeowners often skip, ensuring that the “hidden” grease and dust are removed.
If your kitchen cabinets feel perpetually sticky or you are struggling to keep your pantry organized amidst a busy work schedule, Maid Cleaning For You is here to help. Our deep cleaning visits include detailed attention to kitchen surfaces and cabinets, helping you reset your space so you can focus on cooking and enjoying your home.
Ready for a kitchen that feels brand new? Contact Maid Cleaning For You today to book a professional deep clean and let us help you get your kitchen back in shape!
FAQ
What is the safest cleaner for kitchen cabinets?
For most cabinets, warm water mixed with a small amount of mild dish soap is the safest choice. It cuts through surface grease without damaging wood, laminate, or painted finishes.
How often should kitchen cabinets be cleaned inside?
Interiors should be deep-cleaned at least once or twice a year. However, if you have a spill, wipe it up immediately to prevent it from hardening into a difficult residue.
How do you remove sticky residue from cabinet shelves?
Use a damp cloth with mild soap to soften the residue. If it is stubborn, use a mixture of water and a little vinegar (only for non-wood surfaces) or a specialized surface-safe degreaser. Always dry the area immediately after.
Should cleaning products be stored under the kitchen sink?
Yes, it is common and convenient, but you must ensure that all chemicals are kept in their original, tightly sealed containers. If you have children or pets, store these items in an upper cabinet or use child-proof locks on the under-sink doors.