

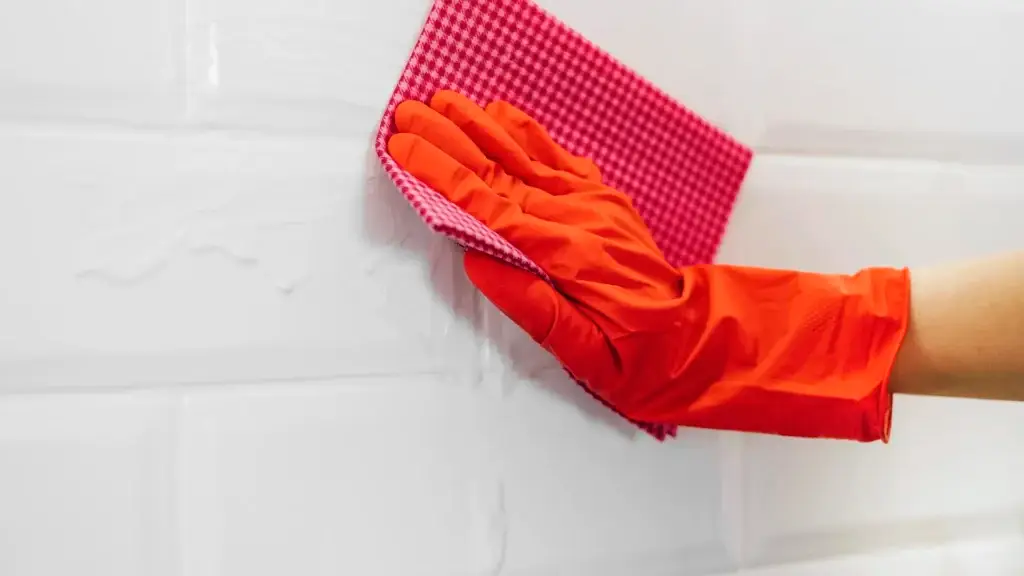
White tile grout is one of the hardest surfaces to keep looking clean in any bathroom or kitchen. It starts bright and even, and then sometime between the first shower and the end of the first month it begins to darken, spot and streak in ways that routine wiping never seems to fully reverse.
The problem is usually a combination of soap scum, hard water minerals, mold spores and simple dirt that settle into the porous surface of the grout lines over time. Addressing them together, with the right method for the right problem, is what actually restores white tile grout rather than just lightening it temporarily.
The short version: for routine grime, scrub with a baking soda paste and a stiff brush. For mold and discoloration, apply a hydrogen peroxide solution before scrubbing. Bleach works on mold but should be used sparingly and rinsed thoroughly, since repeated use weakens grout over time. Always seal grout after a deep clean to slow future buildup.
Why white tile grout gets dark so quickly
Grout is porous by nature. Even sealed grout has microscopic spaces that absorb water, soap residue, minerals from hard water and airborne particles that settle in a warm, wet bathroom environment.
In bathrooms, this process accelerates significantly. The U.S. Environmental Protection Agency notes that mold in the shower or bathroom tends to reappear in places that are often or always damp, and that increasing ventilation and cleaning more frequently are the two most reliable ways to prevent recurring growth. For grout specifically, the combination of constant moisture, soap film and minimal airflow creates the conditions mold needs to establish itself in the lines between tiles, even when the tiles themselves look clean.
In South Florida’s climate, with ambient humidity often exceeding 70 percent for much of the year, this process runs noticeably faster than in drier regions. Grout that might need a deep clean once or twice a year in a drier climate may need attention every six to eight weeks here.
How to clean grout with baking soda: the safest starting method
Baking soda is a gentle abrasive and mild alkali that lifts dirt and soap scum from grout without damaging the surface or surrounding tile. It is the right starting point for grout that looks dull or gray from general accumulation rather than active mold growth.
- Make a paste of baking soda and a small amount of water, thick enough to stay on the grout line without sliding off.
- Apply the paste directly to the grout with a finger or a small brush.
- Scrub with a stiff-bristled grout brush or an old toothbrush, using short back-and-forth strokes along the grout line.
- Let the paste sit for five minutes before rinsing.
- Rinse with clean water and dry the surface with a towel.
Quick reference: grout cleaning by problem type
- Dull or yellowed grout: baking soda paste with scrubbing.
- Mold spots or black discoloration: hydrogen peroxide or oxygen bleach solution.
- Hard water mineral deposits: diluted white vinegar applied before scrubbing.
- Persistent staining that has not responded to home methods: commercial tile grout cleaner or professional treatment.
Matching the method to the problem prevents unnecessary chemical exposure and protects the grout surface from products that are stronger than the stain requires.
Hydrogen peroxide for white tile grout: better than bleach for most cases
Hydrogen peroxide at the 3 percent concentration sold in most pharmacies is an effective grout cleaner that kills mold on contact and lifts discoloration without the drawbacks of regular bleach.
To use it:
- Apply hydrogen peroxide directly to dark or discolored grout lines with a spray bottle or an old toothbrush.
- Let it sit for ten minutes.
- Scrub with a grout brush, then rinse with clean water.
Hydrogen peroxide is gentler on grout than sodium hypochlorite bleach and significantly less likely to cause the gradual crumbling and color fading that comes from repeated bleach use. For white grout specifically, it also brightens the surface without the uneven whitening that bleach can produce on stained areas.
When to use bleach on white tile grout
Bleach is effective on mold and stubborn discoloration, but it comes with important limitations when used on grout.
According to the CDC, mold on hard surfaces like tile can be removed with household products or a bleach solution of no more than one cup of household laundry bleach in one gallon of water. That dilution is important. Undiluted bleach is more likely to damage the grout binder over repeated use, gradually making the surface more porous and therefore easier for future mold and staining to penetrate.
A few practical rules for using bleach on tile grout:
- Always dilute before applying to grout. Full-strength bleach is unnecessary and damaging.
- Rinse thoroughly after cleaning to remove all bleach residue before it dries.
- Ventilate the bathroom fully while using bleach: open windows and run the exhaust fan.
- Never mix bleach with vinegar or ammonia-based products, since this creates toxic fumes.
- Use bleach no more than once a month on any grout surface.
Cleaning grout on floor tiles vs shower wall tiles
Floor grout and shower wall grout face slightly different challenges and may need different approaches.
Floor tile grout, particularly in bathrooms or kitchens, collects tracked-in dirt, grime from foot traffic and cleaning product buildup. A baking soda paste with firm scrubbing handles most floor grout issues, and the method works well without risking damage to the surrounding tile from prolonged chemical exposure.
Shower wall grout is in constant contact with water, soap and shampoo residue, and has less ventilation during the drying period than floor grout. This makes it more prone to soap scum buildup and mold, which is why hydrogen peroxide or an oxygen bleach solution (not sodium hypochlorite bleach) tends to work better here than simple baking soda.
Grout lines on shower floors, which combine constant moisture with foot traffic and soap residue, are often the darkest in the entire bathroom and may need more frequent attention than any other grout surface in the home.
How to seal grout after cleaning
Sealing grout after a deep clean is one of the most effective steps a homeowner can take to slow future staining, and it is one of the most commonly skipped.
Grout sealer fills the microscopic pores in the grout surface with a hydrophobic compound that repels water, soap and other liquids rather than allowing them to soak in. This does not make grout stain-proof, but it meaningfully extends the time before the next deep clean is needed.
To apply:
- Make sure the grout is completely dry before sealing, ideally 24 hours after a deep clean.
- Apply grout sealer with a small brush or applicator pen directly to the grout lines.
- Let it penetrate for the time specified on the product label, usually 10 to 15 minutes.
- Wipe away any excess sealer from the tile surface before it dries.
- Avoid wetting the grout for at least 24 hours after application.
In South Florida’s humidity, unsealed grout absorbs moisture so readily that mold can establish itself on the surface within a few days of a wet period. Sealing is not optional in this climate if the goal is grout that stays light between cleanings.
Why grout cleaning is harder in South Florida
Ambient humidity, hard water and frequent bathroom use are the three factors that stack against white grout in South Florida homes specifically.
Hard water, common throughout Palm Beach and Broward Counties due to high mineral content in the water supply, leaves a calcium and magnesium film on grout and tile after every wet surface dries. This mineral deposit is distinctly different from mold or soap scum and requires an acidic cleaner like diluted vinegar to fully remove, rather than the alkaline approach that works on organic buildup.
For homes dealing with recurring grout discoloration that returns within weeks of a deep clean, the underlying cause is usually inadequate ventilation. An exhaust fan that runs for ten minutes after a shower removes enough humidity to meaningfully slow mold and mineral buildup between cleanings.
Common mistakes that damage grout instead of cleaning it
Several instinctive cleaning choices actually accelerate grout damage over time.
- Scrubbing with a wire brush or steel wool, which scratches and loosens the grout binder.
- Using undiluted bleach regularly, which weakens the cement-based grout over months.
- Leaving cleaning products on grout beyond the recommended time, which can discolor or dry out the surface.
- Cleaning grout lines with a general bathroom spray and a soft cloth, which is too gentle to make contact with the textured surface and too imprecise to reach the lines.
- Skipping the sealing step after a deep clean, which means the grout reabsorbs moisture and staining agents within days.
Frequently asked questions about cleaning white tile grout
What is the best cleaner for white grout? For most situations, a baking soda paste for general grime and hydrogen peroxide for mold give the best results without risking grout damage. Commercial oxygen bleach products designed for grout are a reliable option for heavier staining.
How do I get white grout white again? A combination of hydrogen peroxide application, scrubbing with a stiff brush and thorough rinsing removes most discoloration. For grout that has been dark for a long time, two or three treatments may be needed before the original color is fully restored.
Does vinegar damage grout? Repeated, undiluted vinegar application on cement-based grout can gradually erode the binder. Using it diluted and rinsing promptly limits this risk. Vinegar is best used for mineral deposits specifically rather than as an all-purpose grout cleaner.
How often should I clean bathroom grout? A light scrub once a month prevents significant buildup in most bathrooms. A deeper clean every three to four months, followed by resealing once a year, maintains white grout more effectively than irregular, reactive cleaning.
Will professional grout cleaning make a noticeable difference? Yes, particularly for grout that has not been maintained regularly or sealed in several years. Professional cleaning uses steam and high-concentration enzyme or acid treatments that penetrate more deeply than home products can.
Maintaining grout between deep cleans
A quick spray of diluted hydrogen peroxide or a bathroom-safe daily shower spray after each use keeps mold from establishing between cleanings. Running the exhaust fan for at least ten minutes after a shower removes the moisture that mold needs before it can settle.
White tile grout that is sealed, ventilated and lightly maintained on a weekly basis looks noticeably brighter than grout that only gets attention when staining becomes visible, simply because the maintenance prevents the staining from fully setting in the first place.
For bathrooms where grout has not been deep cleaned or sealed in a long time, our professional deep clean covers tile, grout, fixtures and the moisture-prone surfaces that routine cleaning tends to miss in high-humidity South Florida homes.